

Introduction
A logo may look perfect on your website, business card, or packaging, but turning that same logo into embroidery is a different story. Embroidery machines don't read ordinary image files as stitch instructions.
To create JEF embroidery files from logos, you need to convert the visual artwork into a properly digitized embroidery design. The finished JEF file tells the machine where to stitch, which direction to stitch, when to change colors, and how the design should be built.
Whether you're preparing a company logo for uniforms, hats, jackets, bags, or promotional products, understanding the process can help you get cleaner and more professional results.
What Is a JEF Embroidery File?
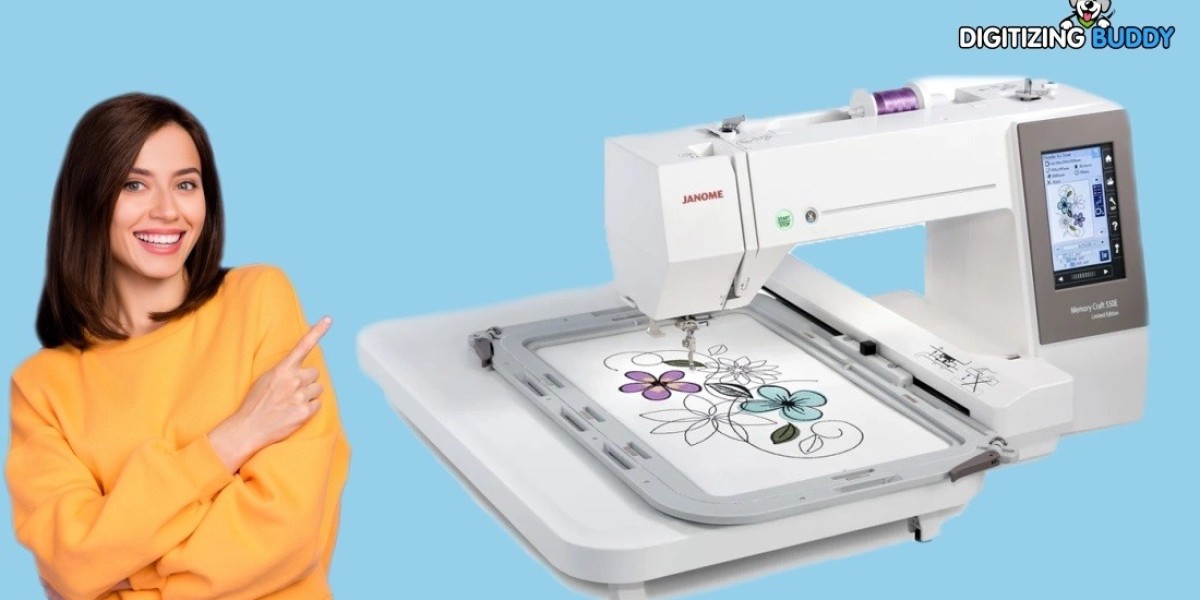
JEF is an embroidery file format associated with compatible Janome embroidery machines. Instead of storing an image like a JPG or PNG, an embroidery file contains stitch-related information that allows the machine to reproduce a design with thread.
A JEF file can contain information such as:
- Stitch locations
- Stitch sequence
- Stitch direction
- Thread color changes
- Jump and trim commands
- Design dimensions
- Other machine-readable embroidery instructions
Think of your logo as the artwork blueprint and the JEF file as the set of sewing instructions. The machine needs the second one to turn your digital logo into actual stitches.
Why Create JEF Embroidery Files From Logos?
Businesses often want their logos embroidered on clothing and promotional products because embroidery can provide a durable, professional appearance.
Creating a JEF file from your logo makes it possible to prepare the design for compatible embroidery equipment.
Logo digitizing is commonly used for:
- Employee uniforms
- Polo shirts
- Work jackets
- Caps and hats
- Tote bags
- Embroidered patches
- Corporate gifts
- Sports apparel
- Promotional merchandise
A properly digitized logo can preserve the important visual elements while adapting them to the limitations of thread and fabric.
Can You Simply Convert a Logo to JEF?
Not by simply changing the file extension.
For example, changing logo.png to logo.jef doesn't create a genuine embroidery design. A PNG contains pixels, while a JEF embroidery file contains stitch instructions.
The logo needs to be digitized first.
During digitizing, the artwork is broken into stitchable sections. Each section is assigned suitable stitch types, directions, densities, and sequencing.
How to Create JEF Embroidery Files From Logos
The exact workflow can vary depending on your software and logo, but the basic process is straightforward.
1. Start With High-Quality Logo Artwork
The better your original artwork, the easier it is to create an accurate embroidery design.
A clean vector logo is often helpful because shapes and edges are clearly defined. High-resolution raster artwork can also work well when it has sharp lines and good contrast.
Useful source formats may include:
- PNG
- JPG
- SVG
- AI
- EPS
- Other supported graphic formats
Avoid using blurry screenshots whenever possible.
2. Clean Up the Logo
Before digitizing, inspect the artwork carefully.
Remove unnecessary backgrounds, tiny decorative elements, and details that are unlikely to reproduce well in thread.
For example, a logo might contain a thin outline that looks great on a computer but disappears when embroidered at a small size. Simplifying that detail can produce a stronger final result.
3. Choose the Final Embroidery Size
Decide how large the logo will actually be stitched.
This is important because the same design may need different digitizing settings at different sizes.
A logo intended for a large jacket back can contain more detail than one designed for a small left-chest placement.
Consider:
- Finished width and height
- Hoop size
- Fabric type
- Placement
- Smallest details
- Lettering size
4. Import the Artwork Into Digitizing Software
Open your embroidery digitizing software and import the prepared logo.
The software allows you to use the artwork as a reference while creating embroidery objects.
At this stage, the goal isn't simply to trace every pixel. You're building a stitch plan that will behave properly when sewn.
5. Convert Logo Elements Into Stitch Objects
Different parts of a logo may require different stitch types.
Satin stitches are often useful for borders, narrow columns, and lettering.
Fill stitches work well for larger areas that need substantial thread coverage.
Running stitches can be suitable for outlines and fine details.
Choosing the right stitch type helps balance appearance, coverage, texture, and stitch count.
6. Set Stitch Direction
Stitch direction can dramatically affect how an embroidered logo looks.
For example, changing the direction of stitches across different shapes can add visual contrast and help the design look more natural.
Think of stitch direction like the grain of wood. The direction changes how light catches the surface.
7. Adjust Stitch Density
Density controls how closely stitches are placed together.
Too little density may result in poor coverage, while excessive density can make the embroidery stiff and may contribute to thread buildup or puckering.
The correct setting depends on several factors, including:
- Fabric
- Thread
- Stitch type
- Design size
- Stabilizer
- Garment construction
Avoid assuming that one density setting works for every logo.
8. Add Suitable Underlay
Underlay stitches form a foundation underneath the visible embroidery.
They can help stabilize the fabric and support the top layer of stitches.
The type and amount of underlay should be selected according to the object, fabric, and design requirements. Too much can add unnecessary bulk, while too little may reduce stability.
9. Plan the Stitch Sequence
The embroidery machine generally follows the order established in the design.
A smart sequence can reduce unnecessary movement and help maintain proper registration between design elements.
Good sequencing can also reduce:
- Excessive trims
- Jump stitches
- Thread changes
- Unnecessary machine movement
10. Set Thread Colors
Match the logo's colors to the embroidery thread as closely as practical.
Remember that screen colors and physical thread colors don't always look identical. If exact brand colors matter, compare actual thread samples whenever possible.
11. Save or Export the JEF File
Once the design has been digitized and checked, export it in JEF format if your embroidery software supports the required format.
Before sending the file to the machine, verify:
- Design dimensions
- Hoop compatibility
- Stitch count
- Thread colors
- Stitch sequence
- Machine compatibility
Logo Elements That Need Special Attention
Not every part of a logo behaves the same way during embroidery.
Small Text
Tiny lettering is one of the most challenging elements to digitize.
At very small sizes, letters can lose their shape or become difficult to read. Selecting a suitable font and adjusting the lettering for embroidery can make a major difference.
Thin Lines
Very narrow lines may not stitch reliably. In some cases, they need to be slightly strengthened or redesigned.
Small Details
Fine artwork details can disappear when converted into stitches. Ask whether each detail actually improves the embroidered logo before keeping it.
Large Solid Areas
Large filled sections can contain many stitches. Without proper density, underlay, and sequencing, they may cause distortion or fabric stress.
How Fabric Affects Logo Digitizing
A logo doesn't behave the same way on every material.
A stable canvas or jacket fabric may require different settings from a stretchy T-shirt.
Fabric characteristics can influence:
- Stitch density
- Underlay
- Pull compensation
- Stitch length
- Stabilizer requirements
- Overall design appearance
For this reason, the intended fabric should be considered before finalizing a JEF embroidery design.
What Is Pull Compensation?
Pull compensation is an adjustment made to account for the way fabric can move or compress as embroidery is stitched.
Without suitable compensation, some shapes may appear narrower or slightly distorted after stitching.
An experienced digitizer considers this during the design process rather than waiting until the finished embroidery reveals the problem.
Test Your JEF Logo Before Production
A digital preview is useful, but a real stitch-out tells you much more.
Before embroidering an expensive garment, test the JEF design on a similar fabric.
A Simple Test-Stitch Process
- Select fabric similar to the final product.
- Use the intended stabilizer.
- Load the JEF file.
- Use matching or equivalent thread.
- Stitch the complete logo.
- Check lettering, outlines, and filled areas.
- Look for puckering or gaps.
- Adjust the design if necessary.
- Test again after major changes.
This small step can prevent costly production mistakes.
Common Mistakes When Creating JEF Logo Files
Treating the Logo Like a Regular Image
Embroidery isn't printing. A design must be rebuilt around stitches rather than pixels.
Making the Design Too Detailed
More detail doesn't always mean better embroidery. Tiny elements can become messy when stitched.
Ignoring Final Size
Always evaluate the design at its actual embroidery dimensions.
Using Excessive Density
Too many stitches can create stiffness, bulk, and fabric distortion.
Skipping a Test Stitch-Out
Even a well-digitized design may need adjustments for a particular fabric, stabilizer, or thread combination.
Tips for Better JEF Logo Embroidery
If you regularly create embroidery files from logos, keep these tips in mind:
- Use clean source artwork.
- Determine the final size before digitizing.
- Simplify details when necessary.
- Choose stitch types based on individual design elements.
- Keep small lettering readable.
- Use suitable underlay.
- Avoid unnecessary stitch density.
- Plan an efficient stitch sequence.
- Consider the target fabric.
- Always test important designs before production.
Create JEF Embroidery Files From Logos With Digitizing Buddy
At Digitizing Buddy, logo artwork is prepared with embroidery in mind rather than simply converted into another file extension.
The goal is to create a practical, machine-ready design that balances appearance, stitch quality, size, and fabric requirements. Whether you're preparing a business logo for uniforms, hats, jackets, or other embroidered products, proper digitizing can make the final result much more reliable.
When requesting logo digitizing, provide the original artwork along with the desired size, fabric type, placement, and any important color requirements. These details help produce a design that is better suited to its actual use.
Final Thoughts
Learning to create JEF embroidery files from logos starts with understanding one important difference: a logo image and an embroidery design are not the same thing.
A JPG, PNG, or vector file describes how a logo looks. A JEF file tells a compatible embroidery machine how to reproduce that logo with stitches.
For the best results, start with clean artwork, choose the right final size, use suitable stitch types, manage density and underlay carefully, and always perform a test stitch when possible.
With thoughtful digitizing and proper preparation, a simple digital logo can become clean, durable embroidery ready for professional or personal projects.
FAQs
1. What is a JEF embroidery file?
A JEF file is an embroidery format used by compatible Janome embroidery machines. It contains stitch information needed to reproduce a design.
2. Can I turn a JPG logo directly into JEF?
Not simply by renaming the file. The logo needs to be digitized into embroidery stitches and then exported as a JEF file.
3. What type of logo is easiest to digitize?
Simple logos with clean shapes, clear outlines, limited colors, and readable lettering are generally easier to convert into embroidery.
4. Why does my embroidered logo look different from the original?
Thread behaves differently from pixels. Fabric movement, stitch direction, density, underlay, design size, and compensation can all affect the finished appearance.
5. Should I test my JEF logo before production?
Yes. A test stitch-out helps you identify issues with lettering, density, registration, colors, and fabric stability before producing the final item.